Few things are more exciting than making the leap from being a renter to being a first-time homeowner. Getting swept up in all the excitement is a wonderful feeling, but some first-time homeowners lose their heads and make mistakes that can jeopardize everything they’ve worked so hard to earn. Following a series of practical steps early in the homeowning experience can save new owners time, money, and effort later down the road.
Get Properly Insured
Your mortgage lender requires you not only to purchase homeowners insurance but also to purchase enough to fully replace the property in the event of a total loss. But that’s not the only insurance coverage you need as a homeowner. If you share your home with anyone who relies on your income to pay the mortgage, you’ll need life insurance with that person named as a beneficiary so that they won’t lose the house if you die unexpectedly. Similarly, you’ll want to have disability-income insurance to replace your income if you become so disabled that you can’t work.
Also, once you own a home, you have more to lose in the event of a lawsuit, so you’ll want to make sure you have excellent car insurance coverage. If you are self-employed as a sole proprietor, you may want to consider forming a corporation for the greater legal protection of your assets.
You may also want to purchase an umbrella policy that picks up where your other policies leave off. If you are found at fault in a car accident with a judgment of $1 million against you and your car insurance only covers the first $250,000, an umbrella policy can pick up the rest of the slack. These policies are usually issued in units of one million.
Get Help With Your Tax Return
Even if you hate the thought of spending money on an accountant when you normally do your tax returns yourself, and even if you’re already feeling broke from buying that house, hiring an accountant to make sure you complete your return correctly and maximize your refund is a good idea. Homeownership significantly changes most people’s tax situations and the deductions they are eligible to claim.
Just getting your taxes professionally done for one year can give you a template to use in future years if you want to continue doing your taxes yourself.
Don’t Overspend to Personalize
You’ve just handed over a large portion of your life savings for a down payment, closing costs and moving expenses. Money is tight for most first-time homeowners. Not only are their savings depleted, but their monthly expenses are also often higher as well, thanks to the new expenses that come with home ownership, such as water and trash bills, and extra insurance.
Everyone wants to personalize a new home and upgrade what may have been temporary apartment furniture for something nicer, but don’t go on a massive spending spree to improve everything all at once. Just as important as getting your first home is staying in it, and as nice as solid maple kitchen cabinets might be, they aren’t worth jeopardizing your new status as a homeowner. Give yourself time to adjust to the expenses of home ownership and rebuild your savings – the cabinets will still be waiting for you when you can more comfortably afford them.
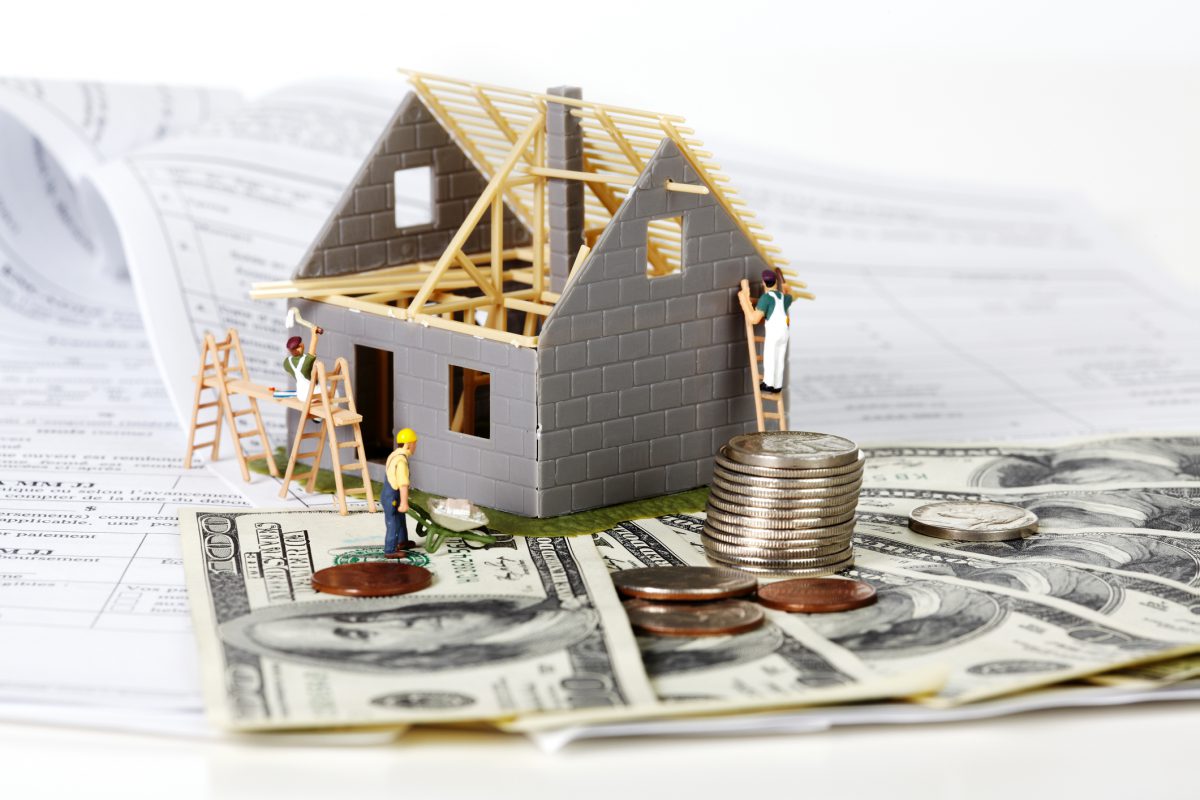
Don’t Ignore Important Maintenance
One of the new expenses that accompany home ownership is making repairs. There’s no landlord to call if your roof is leaking or your toilet is clogged. To look at the positive side, there’s also no rent increase notice taped to your door on a random Friday afternoon. While you should exercise restraint in purchasing the nonessentials, you shouldn’t neglect any problem that puts you in danger or could get worse over time. Delay can turn a relatively small problem into a much larger and costlier one.
Keep Receipts for Improvements
When you sell your home, you can use these costs to increase your home’s basis, which can help you to maximize your tax-free earnings on the sale of your home. In 2008, you could have earned up to $250,000 tax-free from the sale of your home if it was your primary residence and you had lived there for at least two of five years before you sold it.
This deduction assumes that you owned the home alone—if you owned it jointly with a spouse, you could each have gotten the $250,000 exemption.
Let’s say you purchased your home for $150,000 and were able to sell it for $450,000. You’ve also made $20,000 in home improvements over the years you’ve lived in the home. If you haven’t saved your receipts, your basis in the home, or the amount you originally paid for your investment, is $150,000. You take your $250,000 exemption on the proceeds and are left with $50,000 of taxable income on the sale of your home. However, if you saved all $20,000 of your receipts, your basis would be $170,000 and you would only pay taxes on $30,000. That’s a huge saving. In this case, it would be $5,000 if your marginal tax rate is 25%.
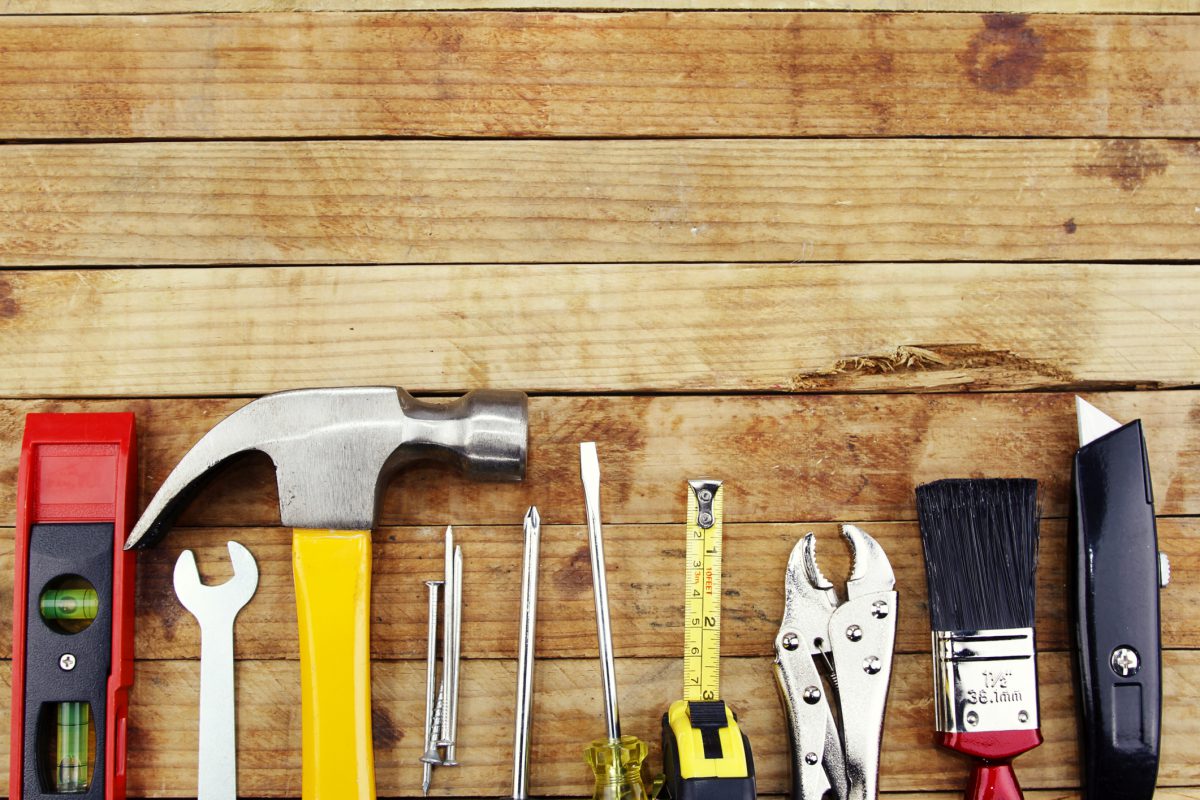
Hire Qualified Contractors
Don’t try to save money by making improvements and repairs yourself that you aren’t qualified to make. This may seem to contradict the first point slightly, but it really doesn’t. Your home is both the place where you live and an investment. It deserves the same level of care and attention you would give to anything else you value highly.
There’s nothing wrong with painting the walls yourself, but if there’s no wiring for an electric opener in your garage, don’t cut a hole in the wall and start playing with copper wiring. Hiring professionals to do work you don’t know how to do is the best way to keep your home in top condition and avoid injuring—or even killing—yourself. Also, be sure to check with the local building authority and pull any necessary permits to complete the work.
Repairs vs. Improvements
Unfortunately, not all home expenses are treated equally for the purpose of determining your home’s basis. The IRS considers repairs to be part and parcel of home ownership—something that preserves the home’s original value but does not enhance its value.
This may not always seem true. For example, if you bought a foreclosure and had to fix a lot of broken stuff, the home is obviously worth more after you fix those items, but the IRS doesn’t care—you did get a discount on the purchase price because of those unmade repairs, after all. It’s only improvements, like replacing the roof or adding central air conditioning, which will help decrease your future tax bill when you sell your home.
For gray areas (like remodeling your bathroom because you had to bust open the wall to repair some old, failed plumbing), consult IRS Publication 530 and/or your accountant. And on a non-tax-related note, don’t trick yourself into thinking it’s OK to spend money on something because it’s a necessary “repair” when in truth it’s really a fun improvement. That isn’t good for your finances.
The Bottom Line
With the great freedom of owning your own home comes great responsibilities. You must manage your finances well enough to keep the home and maintain the home’s condition well enough to protect your investment and keep your family safe. Don’t let the excitement of being a new homeowner lead you to bad decisions or oversights that jeopardize your financial or physical security.